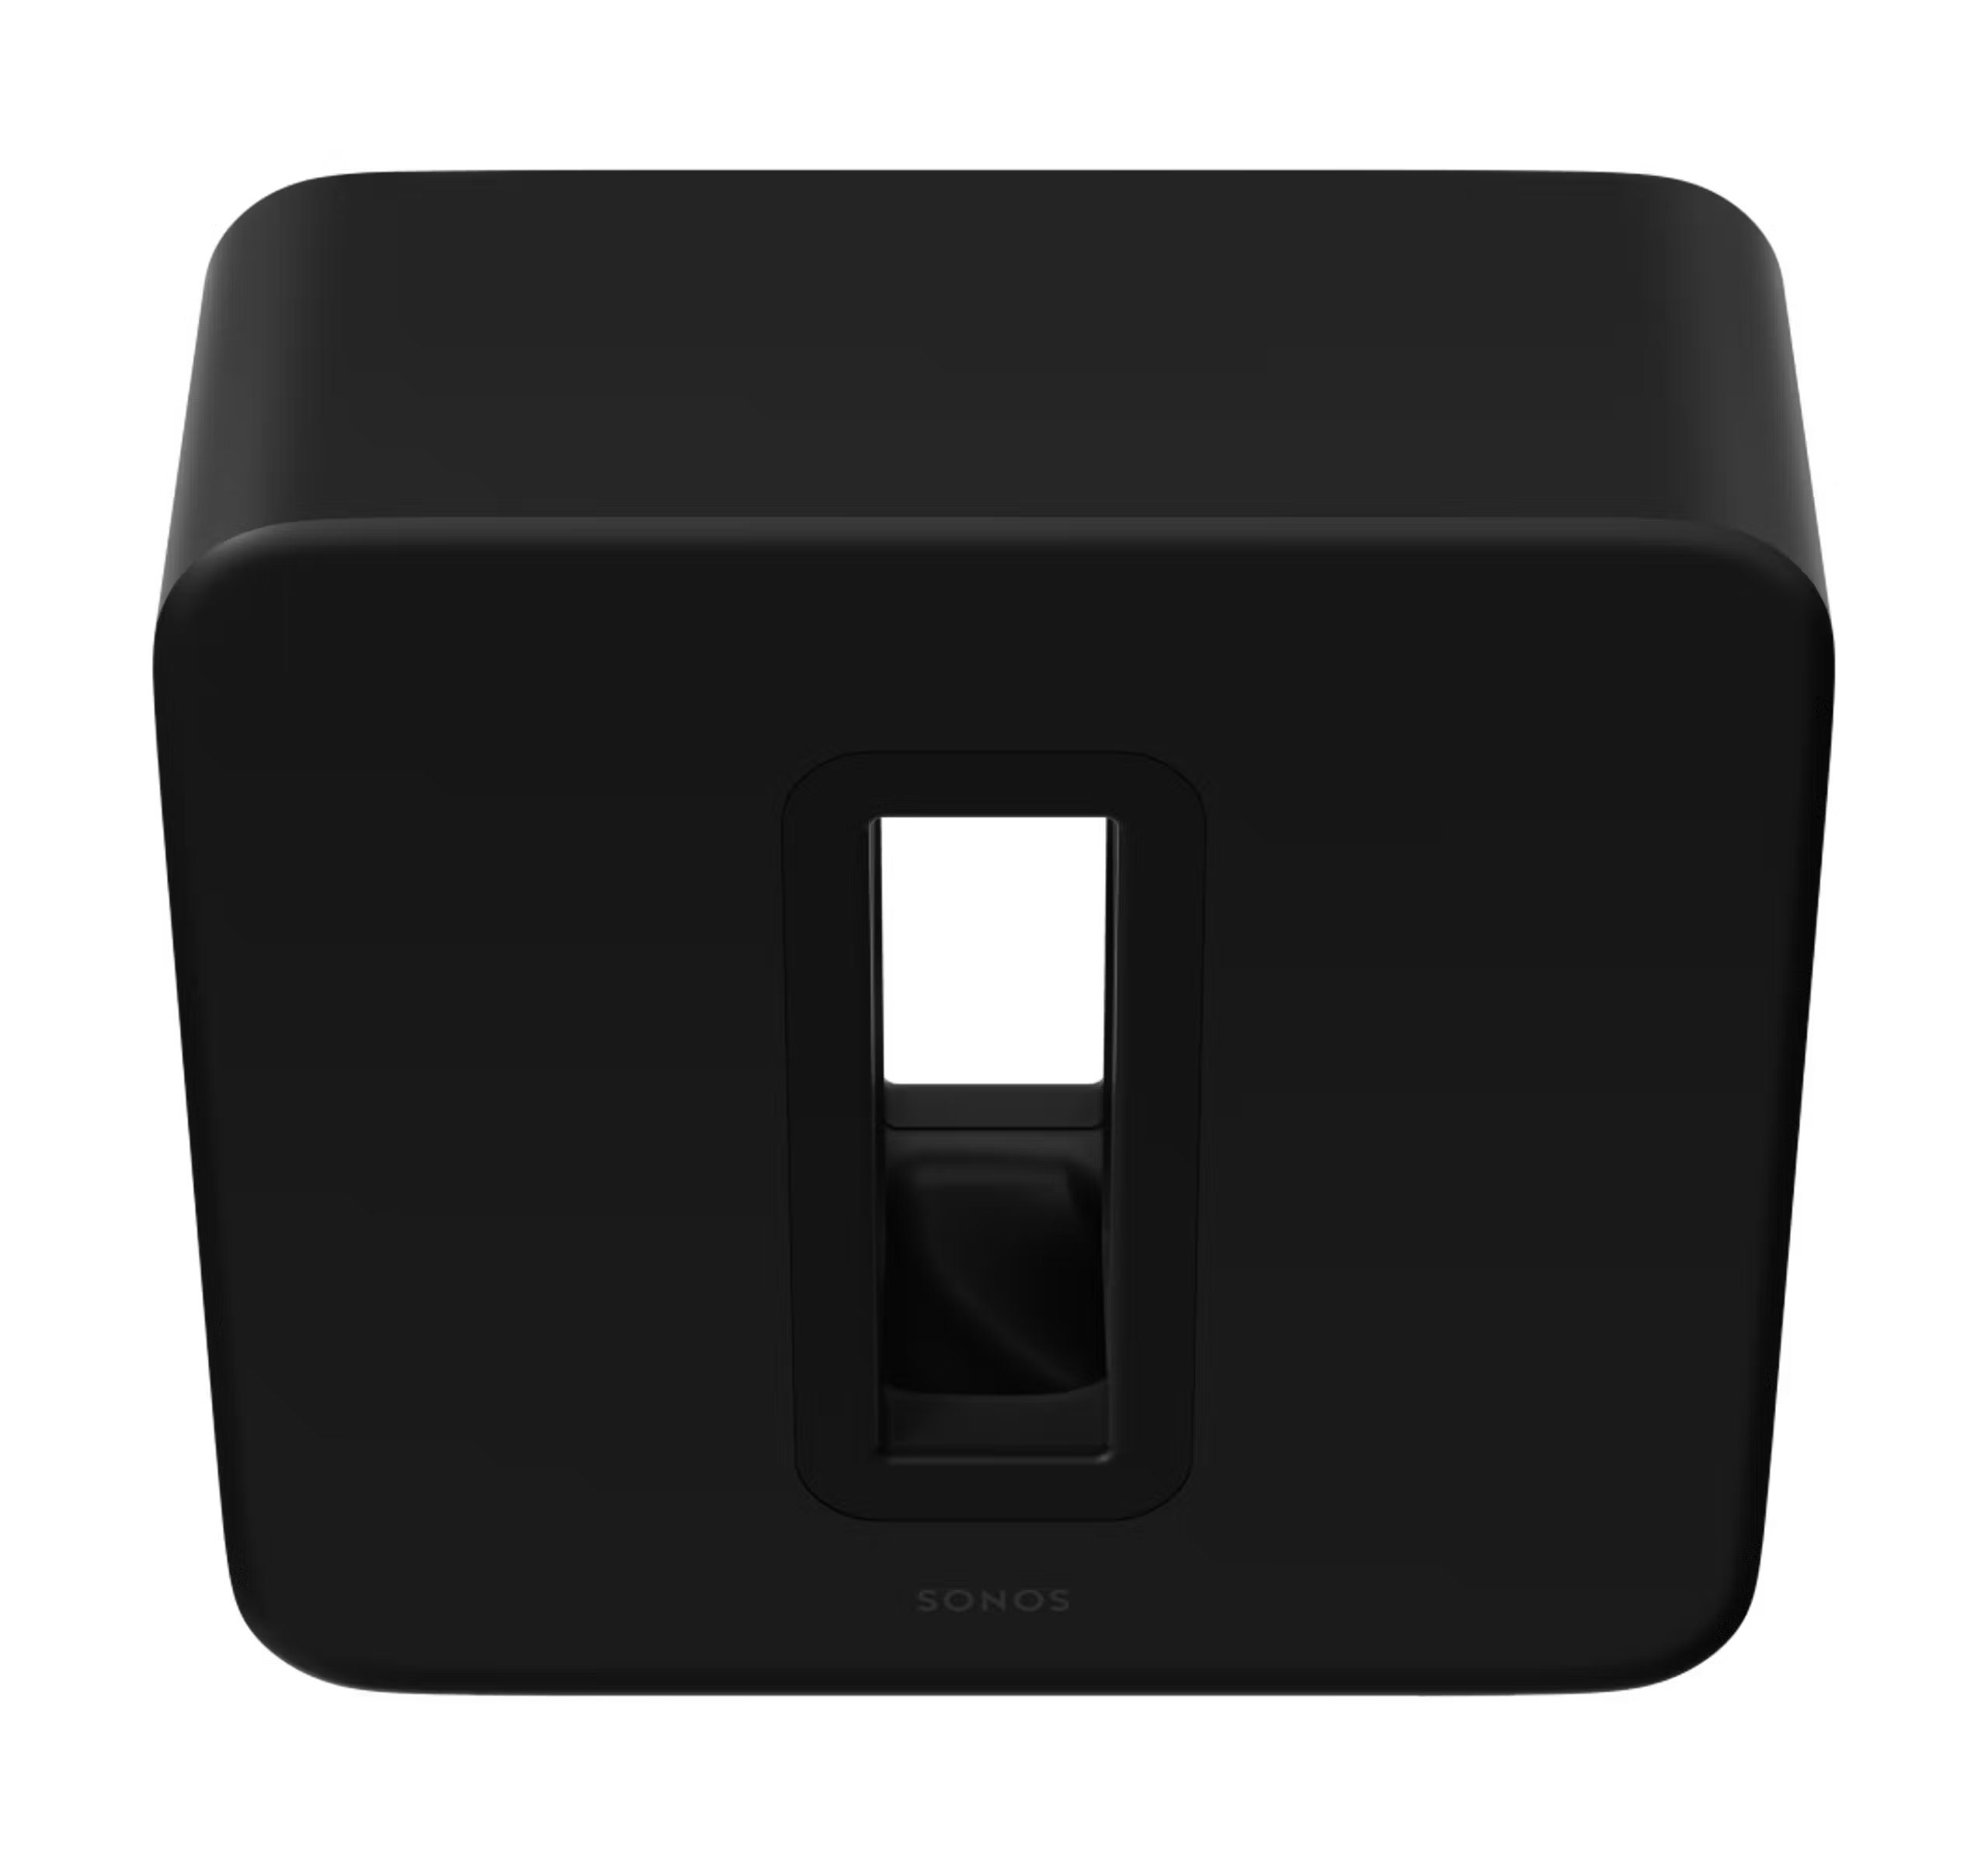
Set up your Sonos Sub
This article will guide you through setting up your Sonos Sub. The following steps apply to all Sub models and generations. However, please note that there can be different app or product requirements based on your Sub model. These are detailed in the Compatibility section.
You can find more information on product features and specs on Sub's product page.
Before you start
- Place your Sub in your desired location and connect it to power. Make sure at least one side of the slot is free from obstruction. If you place it vertically against a wall, don’t block the front opening. If you place Sub horizontally on the floor, don’t put anything on top of it.
- Sub will connect wirelessly to your primary Sonos product. Make sure they are in the same room as each other.
- If you are setting up a Sonos home theater speaker and Sub at the same time, set up the home theater speaker first. The app will guide you through adding your Sub during the setup process.
- If you're adding a Sub to a Sonos speaker that is already set up, follow the steps below.

Compatibility
Home theater compatibility
- Sub (Gen 1, 2, and 3) are compatible with all Sonos home theater speakers.
- Sub 4 is compatible with all Sonos home theater speakers except Playbar and Playbase.
Product compatibility
- Sub 4 is not compatible with Play:1, Play:3, Play:5 (Gen 2), Connect:Amp, SYMFONISK Bookshelf (Gen 1), or SYMFONISK Table lamp (Gen 1).
- All Sub products are not compatible with Move products, Roam products, Port, ZP80, ZP90, Connect, or Connect:Amp (Gen 1).
App compatibility
- Sub 4 and Sub (Gen 3) are not compatible with the Sonos S1 Controller app.
Add a Sub
- Open the Sonos app for iOS or Android.
- Go to the Settings menu.
- If you’re using the S1 Controller app, go to the Settings tab and select System.
- Under Your System, select the room you would like to add your Sub to.
- Select Connect Sub.
- Follow the prompts to add the Sub to your Sonos system.
If you have already set up your Sub but would like to use it in a different room, see our article on removing your Sub.
Problems during setup?
If your Sub is having trouble connecting during setup, check our “Product not found” article for some help.
Using two Subs with your home theater speaker
Some Sonos home theater speakers can connect with up to two Subs.
- Arc Ultra: Compatible with two Sub 4s, Sub (Gen 3)s, or one of each.
- Arc, Beam (Gen 1 and 2), Ray, and Amp: Compatible with all Sub models in certain configurations:
- Sub 4 can be used with another Sub 4 or a Sub (Gen 3).
- Sub (Gen 3) can be used with a Sub 4, another Sub (Gen 3), a Sub (Gen 2), or a Sub (Gen 1).
- Playbar and Playbase: Compatible with Sub (Gen 1, 2, and 3).
- At least one of the Subs must be a Sub (Gen 3).
Follow the steps below to add a second Sub to your home theater speaker:
- Open the Sonos app for iOS or Android.
- Go to the Settings menu.
- Under Your System, select the home theater room that already contains a Sub.
- Select Connect Second Sub.
- Follow the prompts to add the second Sub to your home theater system.
Change Sub audio settings
- Open the Sonos app for iOS or Android.
- Go to the Settings menu.
- If you’re using the S1 Controller app, go to the Settings tab and select System.
- Under Your System, select the room that your Sub is in.
- Under Sound, select Sub Audio.
You can adjust the settings listed below. If you’ve added two Subs to a room, each setting will apply to both Subs.
Setting
Description
Sub
Toggle the Sub audio on or off.
Sub Level
Use the slider to increase or decrease the volume of the Sub audio.
Phase Control
Choose 0° or 180° to flip the phase of the Sub audio. Adjust this setting if you do not hear enough bass in your usual listening position.
Phase Control is set when you Trueplay a room with a Sub, and can’t be changed while Trueplay tuning is enabled.
Reset
Select this to reset all Sub audio settings to their default values.