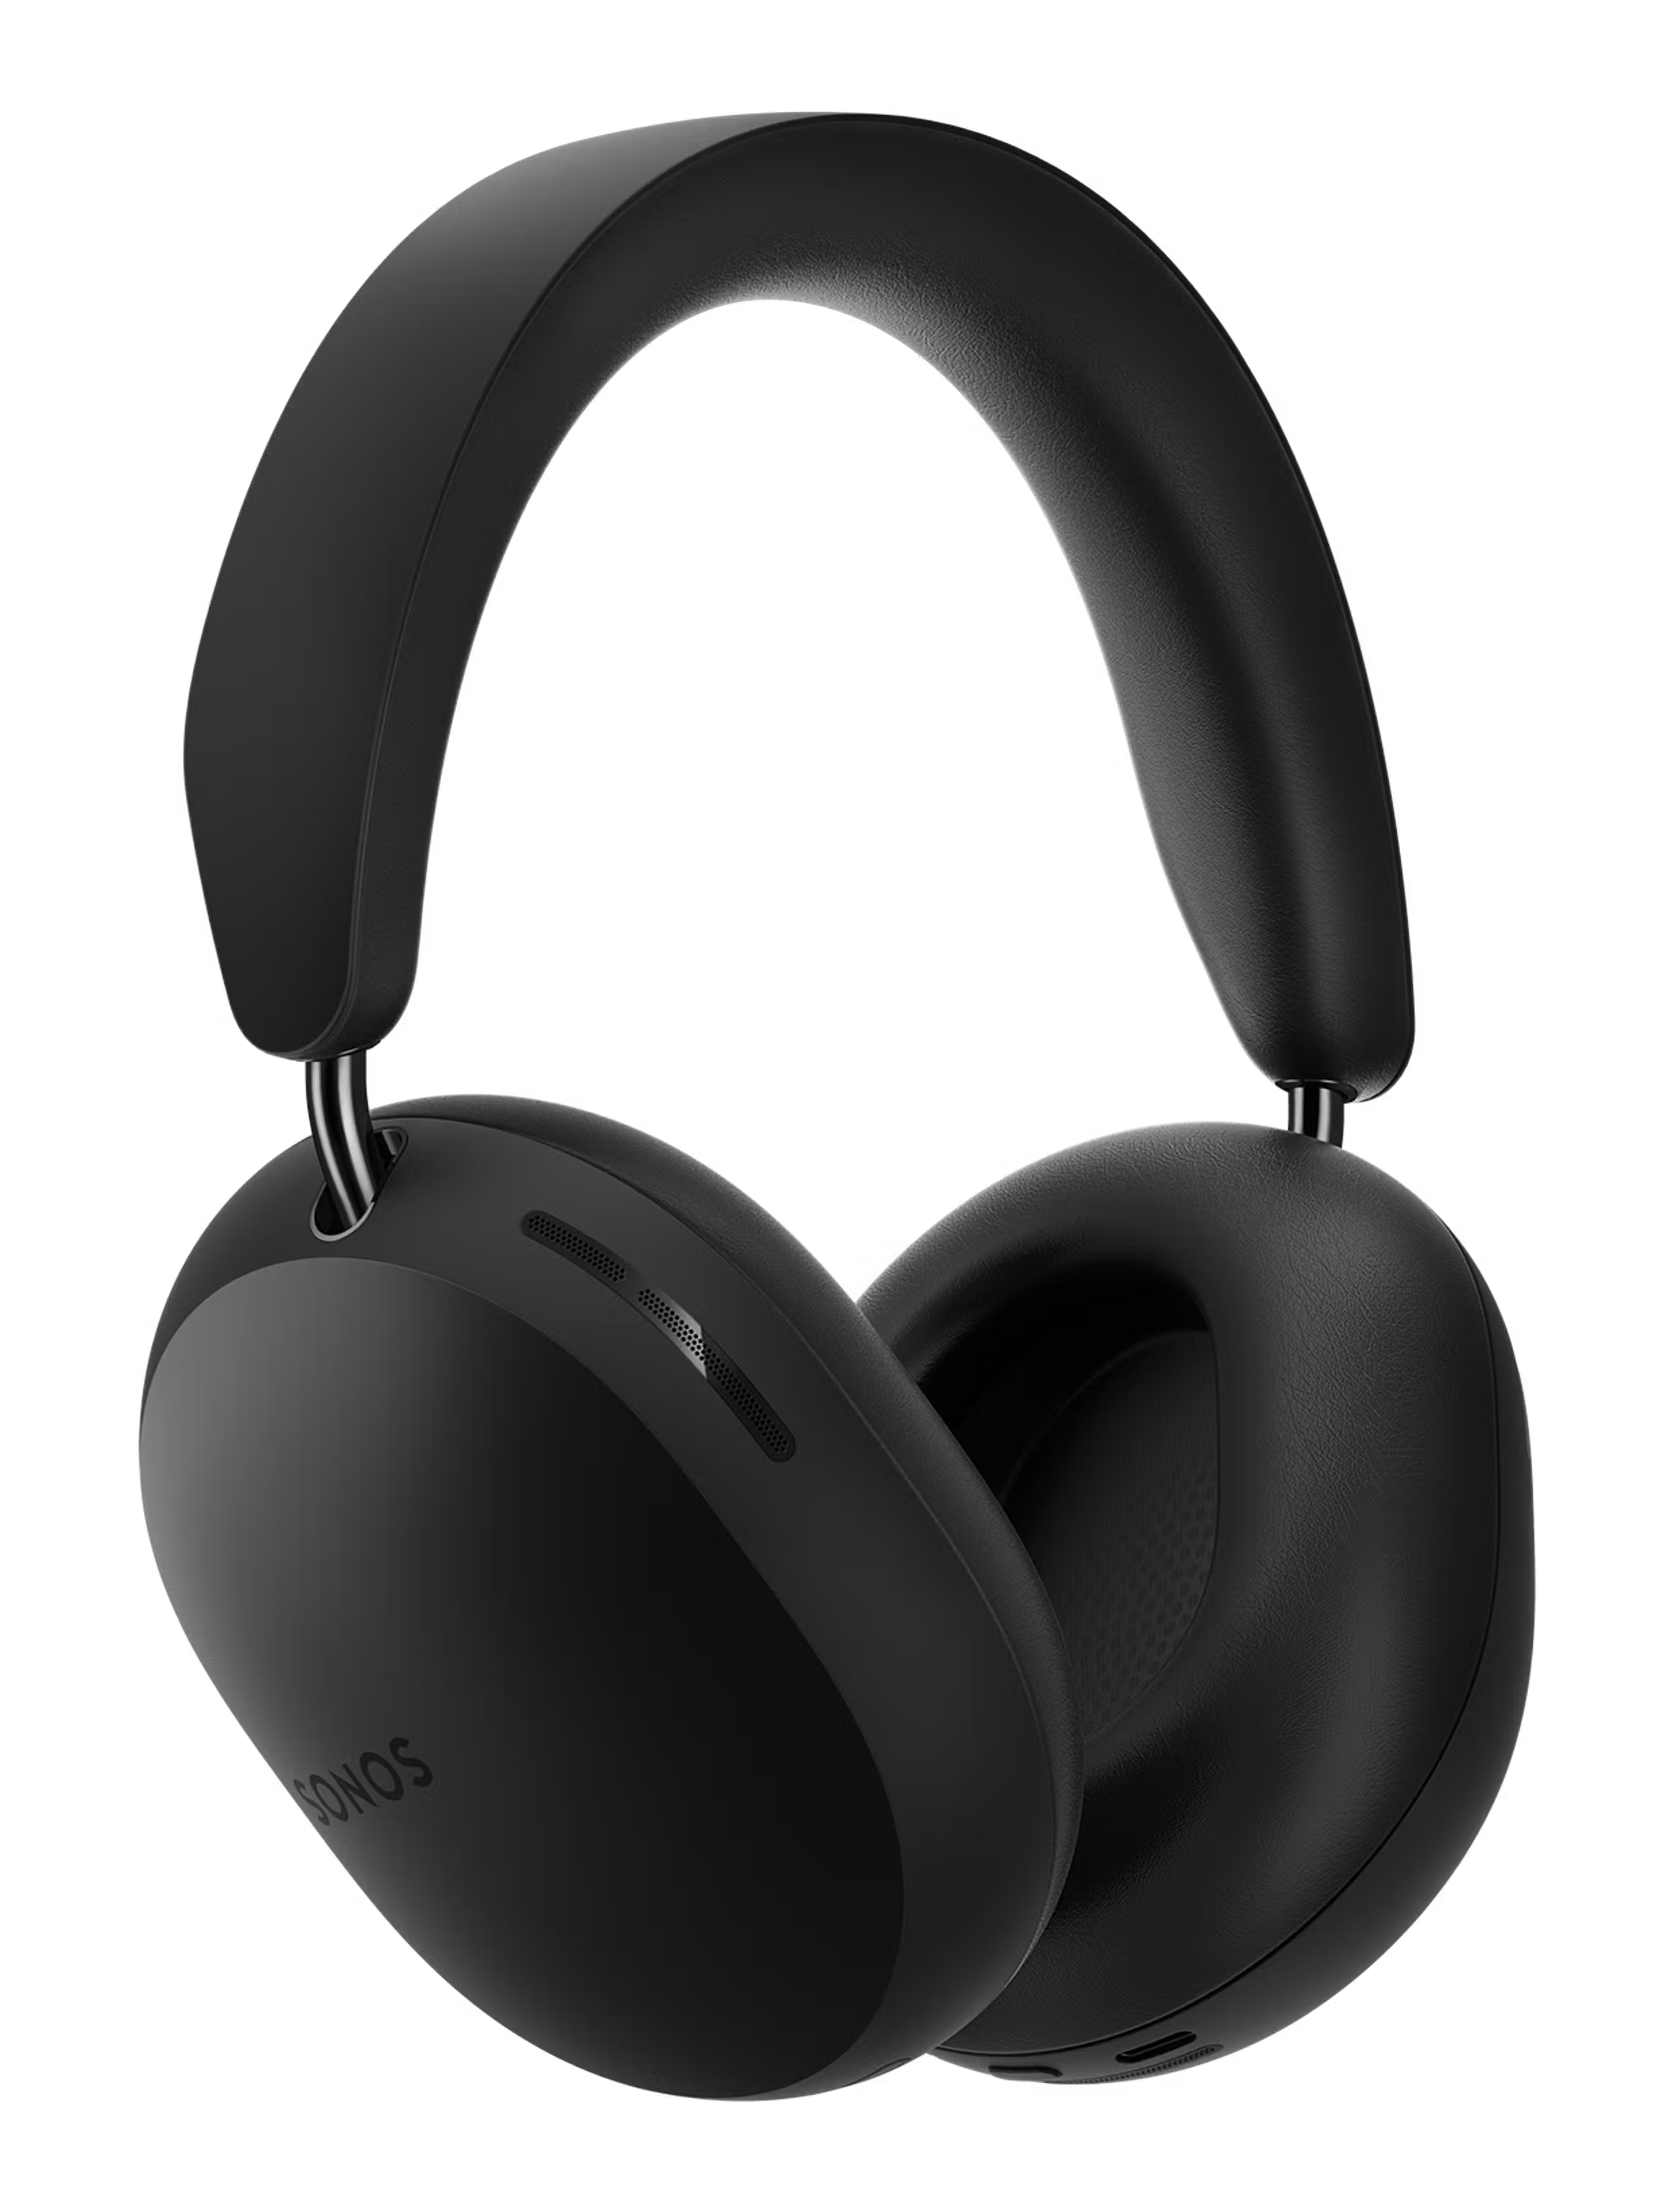
Set up your Sonos Ace
When you unbox your Sonos Ace for the first time, you can connect it to your Bluetooth device and start listening to audio right away. In order to access all of Sonos Ace’s features and settings, you’ll need to set it up using the Sonos app for iOS or Android.
This article goes over the full setup process for Sonos Ace.
Before you start
- Download the Sonos app for iOS or Android. You’ll use the Sonos app to register and update your Sonos Ace.
- If necessary, allow Sonos Ace to charge for a few minutes prior to set up.
Connect Sonos Ace to your iOS or Android device
- Start by putting Sonos Ace into Bluetooth pairing mode. On the left earcup, press and hold the Power / Bluetooth button until the status light begins flashing blue.
- Go to the Bluetooth settings page for your iOS or Android device and select Sonos Ace from the list of available devices.
- When successfully paired, the status light on your Sonos Ace will change to solid blue. You can now set up Sonos Ace in the Sonos app.
Set up Sonos Ace in the Sonos app
If this is your first time using the Sonos app
- From the “Get started with setup” screen, select the Headphones button.
- Wait for the app to find your Sonos Ace. When the setup card appears, select Add.
If your app is already connected to a Sonos system
- Go to the Settings menu and scroll down to the Headphones section.
- Select Add Headphones.
- Wait for the app to find your Sonos Ace. When the setup card appears, select Add.

Follow the steps in the Sonos app to set up, register, and update your Sonos Ace.
Once your Sonos Ace is set up and updated, you can access all of its available features and settings. You can adjust EQ settings, change which Noise Control modes you’d like to use, and set up TV Audio Swap with a supported Sonos home theater speaker.